How To Install A Pergo Xp Floor

Installing Pergo Flooring Pergo Flooring Pergo Laminate Flooring Flooring

Installing Pergo Laminate Flooring Transitions Stair Nose And Baseboards Laminate Stairs Diy Stairs Carpet Stairs

Install Pergo Laminate Flooring For A Farmhouse Look Pergo Laminate Flooring Pergo Laminate Rustic Flooring

Pergo Xp Laminate Flooring Has An Ultra Realistic Wood Grain Finish Along With A Protective Finish For Double The Wear And Dou House Flooring Home Decor Home
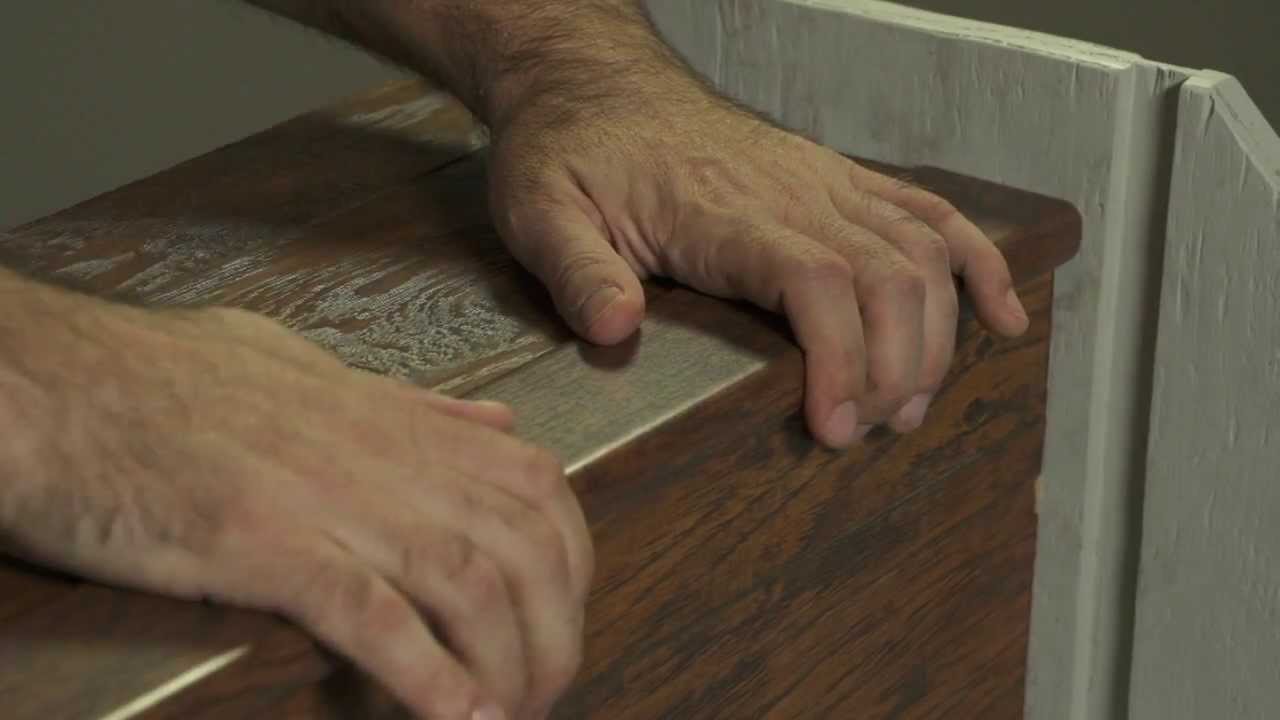
How To Install Pergo Chapter 8 Installing On Stairs Pergo Flooring Pergo House Flooring

User Submitted Photo Wood Floor Design Flooring Hardwood Floors

Download our pergo extreme installation guide below to see the process.
How to install a pergo xp floor.

Southern Grey Oak Pergo Xp Laminate Flooring Pergo Flooring Brown Laminate Flooring Pergo Flooring Gray Wood Laminate Flooring

Pergo Xp Riverbend Oak 10 Mm T X 7 48 In W X 47 24 In L Laminate Flooring 19 63 Sq Ft Case Lf000773 The Home Depot Pergo Laminate Flooring Oak Laminate Flooring Wood Floors Wide Plank

Southern Grey Oak Textured Laminate Floor Dark Oak Wood Finish 10mm 1 Strip Plank Laminate Flo Grey Laminate Flooring Oak Laminate Flooring Laminate Flooring

Laminate Flooring Floors Laminate Floor Products Pergo Flooring Flooring Laminate Flooring Pergo Flooring

This New Pergo Xp Reclaimed Elm Has The Same Multi Width Design With Interesting Paint And Distressing Marks As Our Orig Hardwood Floors Flooring Grey Hardwood

Pergo Flooring Kitchen Reveal Pergo Flooring Flooring Kitchen Flooring

Pergo Xp Highland Hickory 10 Mm Thick X 4 7 8 In Wide X 47 7 8 In Length Laminate Flooring 13 1 Sq Ft Case Flooring Vinyl Wood Flooring Hardwood Floors

Pergo Xp Warm Chestnut 10 Mm T X 7 48 In W X 54 33 In L Laminate Flooring 16 93 Sq Ft Case Lf000824 The Home Depot Pergo Flooring Flooring Flooring Inspiration

Home Why And How We Chose Our Pergo Flooring Lauren Mcbride Pergo Flooring Pergo Laminate Flooring House Flooring

Pergo Xp Chalked Hickory 10 Mm Thick X 7 1 2 In Wide X 54 11 32 In Length Laminate Flooring 16 93 Sq Ft Flooring Laminate Flooring Brown Laminate Flooring

Hand Sawn Oak Handscraped Laminate Floor Dark Oak Wood Finish 10mm 1 Strip Plank Laminate Flooring Easy To Flooring Laminate Flooring Oak Laminate Flooring

Pergo Xp Haley Oak 8 Mm T X 7 48 In W X 47 24 In L Laminate Flooring 19 63 Sq Ft Case Lf000772 The Home Depot Laminate Flooring Natural Oak Flooring Flooring Inspiration

Pergo Xp Vermont Maple Flooring Maple Floors Flooring Floor Colors

Pergo Xp Rustic Espresso Oak 10 Mm T X 6 14 In W X 54 33 In L Laminate Flooring 20 86 Sq Ft Case Lf000822 The Home Depot Wood Floors Wide Plank Inexpensive Flooring Flooring

Pergo Xp Southern Grey Oak 10 Mm Thick X 6 1 8 In Wide X 47 1 4 In Length Laminate Flooring 16 12 Sq Ft Case Lf House Flooring Flooring Home Remodeling

Pergo Xp Royal Oak 10 Mm Thick X 7 1 2 In Wide X 47 1 4 In Length Laminate Flooring 19 63 Sq Ft Case Medium In 2020 Laminate Flooring Oak Laminate Flooring Flooring

Textured 1 Strip Plank Bristol Chestnut Pergo Xp Laminate Flooring Laminate Flooring Pergo Flooring Flooring

Pergo Xp Southern Grey Oak Laminate Flooring Home Depot Gray Wood Laminate Flooring Flooring Grey Laminate
Https Encrypted Tbn0 Gstatic Com Images Q Tbn 3aand9gcsrpdyra2jaxqe762ohcj Mphngcxf Suxpuw0gxptfh8ppieyb Usqp Cau

Harvest Cherry Laminate Wood Flooring Colors Pergo Outlast Flooring

Pergo Xp Esperanza Oak 10 Mm T X 7 48 In W X 54 33 In L Laminate Flooring 16 93 Sq Ft Case Lf000823 The Home Depot Pergo Flooring Laminate Flooring Oak Laminate

Textured 1 Strip Plank Warm Chestnut Pergo Xp Laminate Flooring Basement Remodeling Small Basement Remodel Pergo Flooring

Haley Oak Pergo Xp Laminate Flooring Pergo Flooring Pergo Pergo Flooring Oak

10mm Coffee Handscraped Hickory Handscraped Laminate Floor Pergo Xp Dark Hickory Wood Finish 1 Strip Pergo Flooring Laminate Flooring Pergo Laminate Flooring
Source : pinterest.com
