How To Hang T Floor Joists

How To Strengthen Floor Joists Beste Awesome Inspiration Home Improvement Loans Attic Renovation Loft Flooring

Steps For Repairing A Sagging Or Crowning Floor Joist In Your Home Home Repair Sistering Joists Foundation Repair

Fixing A Damaged Floor Joist Extreme How To Home Repairs Diy Home Repair Mobile Home Repair

Fixing Sagging And Rotten Floor Joists Youtube Updating House Flooring Home Improvement

Do You Have Squeaky Floors If You Have A Basement You May Have A Way To Get Rid Of Those Squeaks Learn How In This A Squeaky Floors Flooring Home Improvement

Top 10 Deck Building Mistakes Fine Homebuilding Building A Deck Diy Deck Deck Building Plans

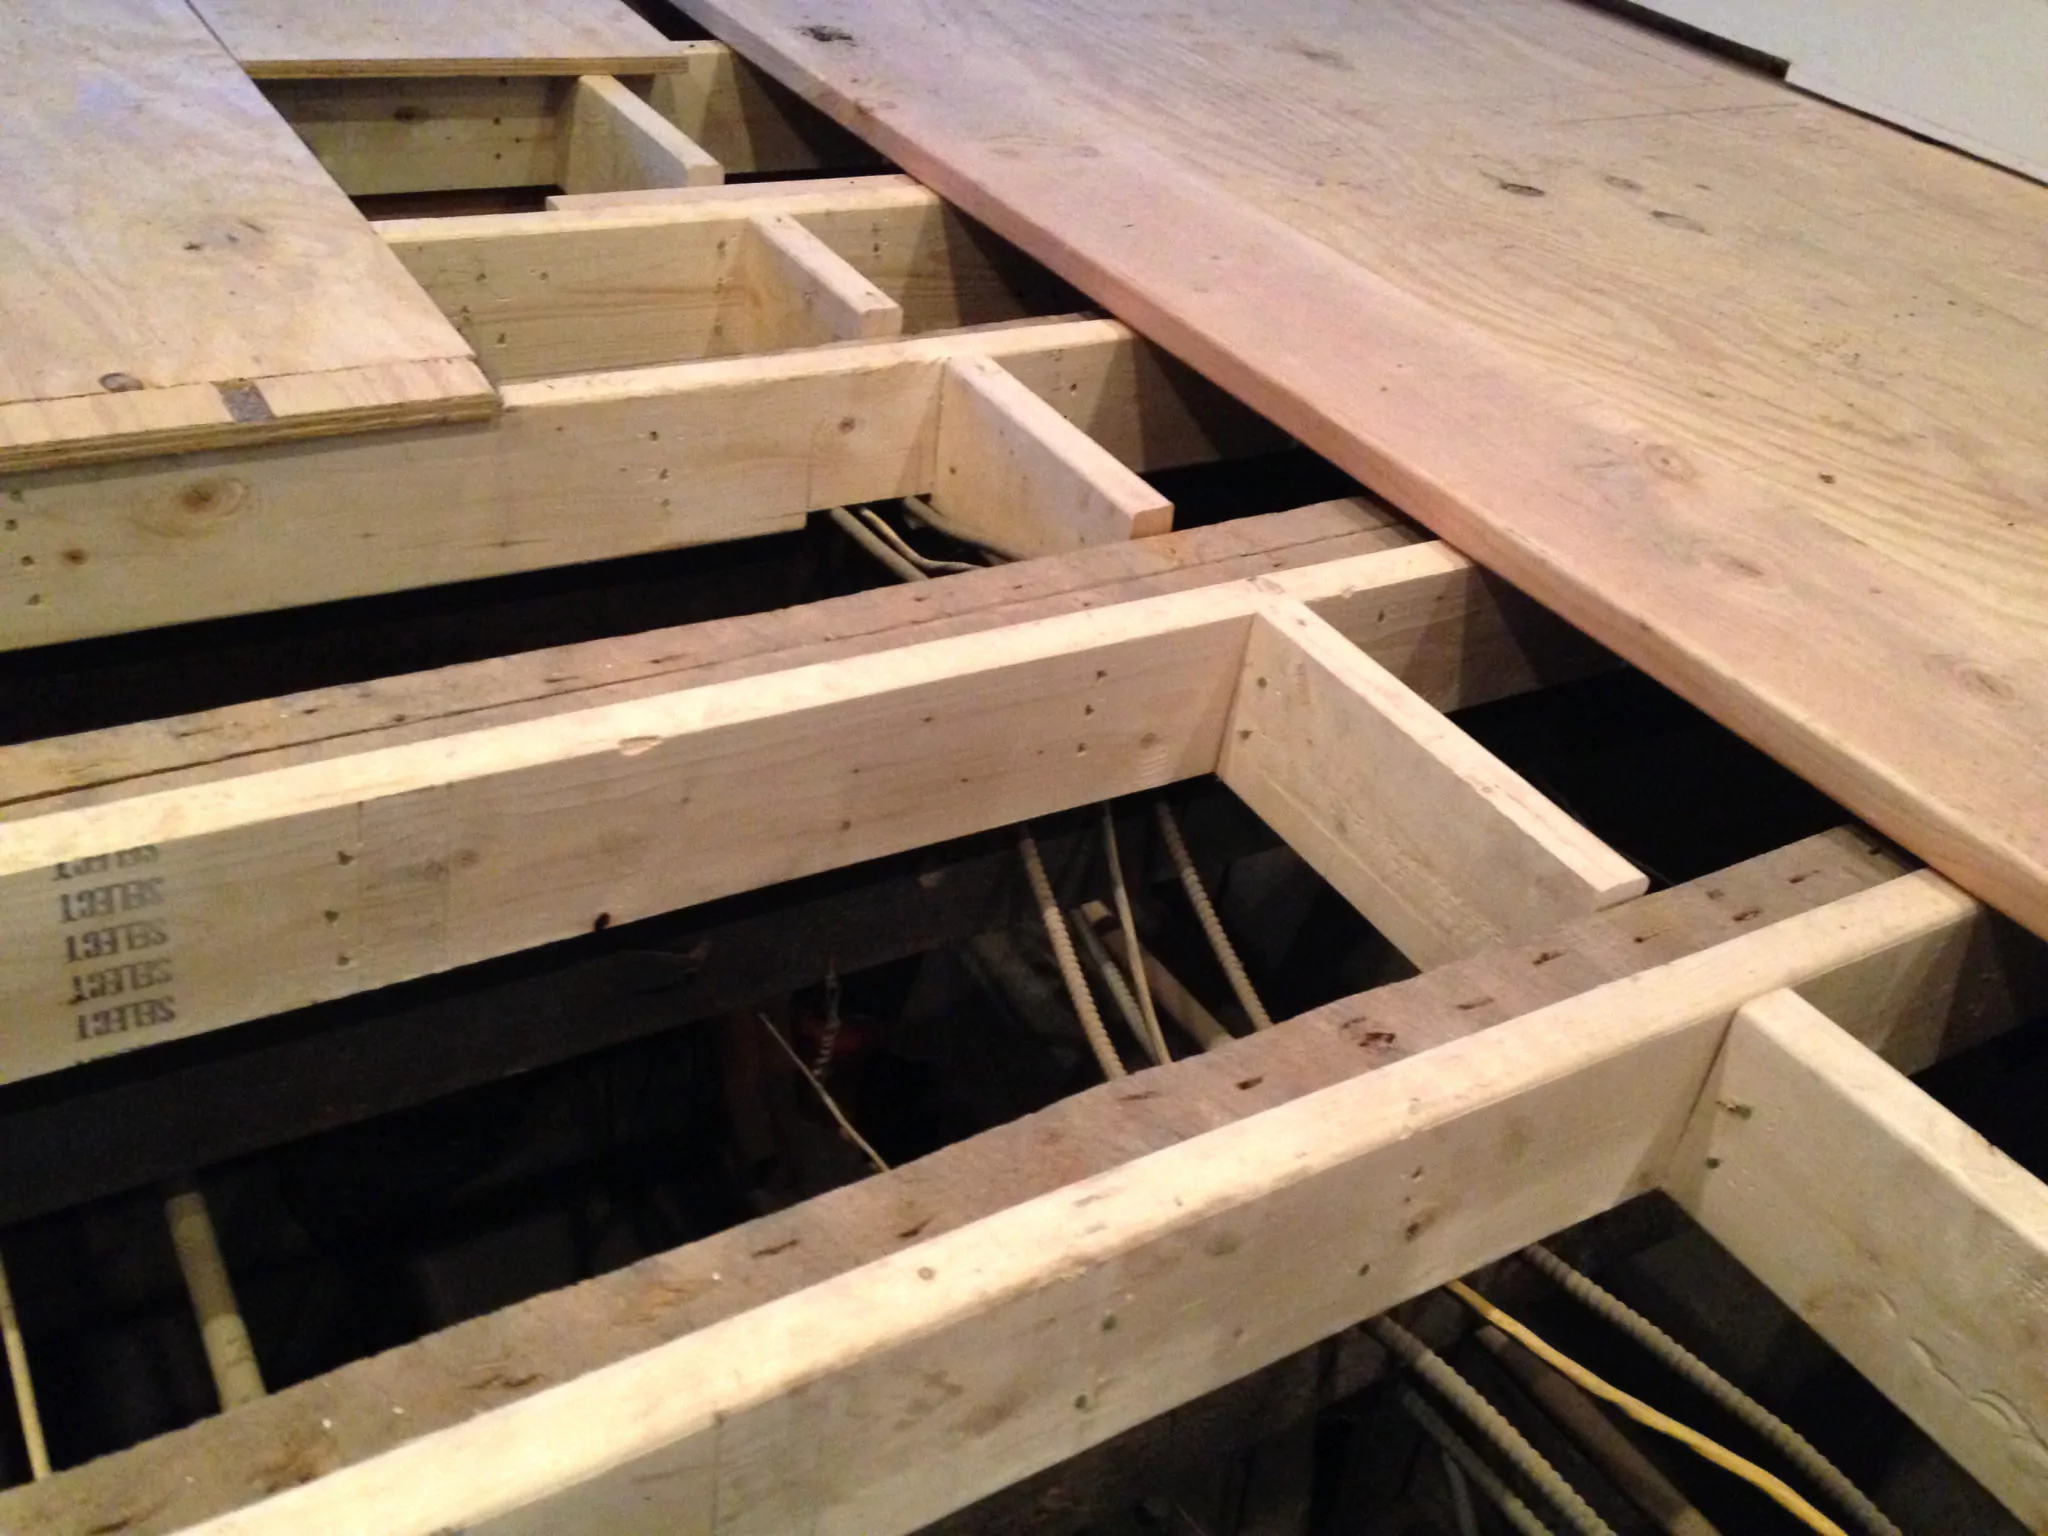
The rim joist sits vertically on top of the sill plate along the outside of the frame to create a lip for the main floor joists.
How to hang t floor joists.

Pin On Blueberry House Basement Apt

Replacing Rotten Floor Joists Google Search Mobile Home Renovations Mobile Home Repair Floors

Ceiling Hanger Shelves Hang From Joists In Garage Basement Or Storage Shed Garage Storage Shelves Ceiling Hangers Garage Storage

Sign In Loft Room Loft Conversion Floor Loft Conversion Floor Joists

Great Work By Earlybird Construction Jacking Up The Old Sauna Tearing Out The Old Floor Pouring Piers Putting New Beams Floor Jois Flooring Decor Home Decor

Proper Spacing For Floor Joists Doityourself Com Wood Frame House Flooring Framing Construction

Pin On Kitchen

Exposed Ducting Exposed Floor Joists Design Ideas Pictures Remodel And Decor Basement Design Basement Makeover Basement Decor
20 Pics Review How To Reinforce Floor Joists For Plumbing And Description In 2020 Attic Flooring Attic Renovation Small Bedroom Remodel

Floor Joist Rot Can Occur In A Basement Crawl Space Or Slab Fixing Reinforcing And Repairing Floor Joists H Repair Floors Flooring Waterproofing Basement
Repair For Sagging Floor Joists The Money Pit

Pin On Scrap

Floor Joist House Construction Plan Updating House Timber Frame Plans

Floor Joist Timber Frame Plans Remodeling Mobile Homes Home Construction

Drywall Basement Ceiling Joists Instead Of Drywall Use Small Sections Of Painted Plywood Basement Ceiling Rustic Basement Basement Remodeling

Image Result For That Gap Between Cinder Block Wall And Floor Joist Finishing Basement Diy Basement Basement Remodeling

How To Hang A Doorway Jumper From A Floor Joist Doorway Jumper Diy Ceiling Hanging

Replacing And Doubling Floor Joist And Subfloor Due To Water Damage Better Than New Home Repairs Home Fix Updating House
3

Cheap And Easy Storage For Your Basement Just Screw Wire Shelving To The Floor Joists And Slide Storage Simple Storage Basement Organization Basement Storage

10 Floor Joist Replacement Part 1 Youtube Flooring Renovations Replacement Parts

Ground Floor Girder And Joist Installation Silicon Valley Zero Energy Home My House Plans Shed Construction Residential Construction

Hanging Joists From Foundation Walls Google Search Floor Insulation Flooring Insulation

Replacing Rotten Floor Joists Google Search Flooring Wood Repair And Maintenance
Source : pinterest.com
